Don’t let the post title scare you off — stay with me here! For those of you who are photographers, this is for you. You’ve probably heard of kelvin, right? It’s the control that adjusts the temperature of your photos IN CAMERA. I’ll be honest with you — I shot on auto white balance for four years. Every time someone would talk about kelvin or try to explain it to me, I tuned out because I didn’t care. I have always adjusted in Lightroom and I didn’t want one more thing to deal with on the wedding day. I already had to direct my clients, find good light, change my aperture, shutter speed, and ISO. One more thing seemed unbearable. But then I tried it and realized it’s life changing. It cuts down my editing time so much because when syncing settings between photos, the white balance is already usually correct! And if it’s not, it’s at least consistent because my camera isn’t reading the colors and changing the white balance every time I move or recompose. It’s not nearly as scary as it seems. If it’s sunny, I normally stay around 6000-7000K and if it’s cloudy or the sun is going down, I can be anywhere from 7500-9000K. If I’m inside, it varies depending if I’m by a window or in tungsten lighting but I’m usually at 4500-5000K. Here’s the thing — you don’t have to change it very often. I was thinking I’d have to adjust it as often as I adjust my shutter speed but you don’t. Here are some tips…
- Practice at home! WB is always hardest inside so if you master it in your kitchen, bedroom, bathroom, and hallway, you’ll definitely be set once you have a wedding day. Take a photo in the same lighting situation and go from 2000K to 9000K just to see how it works.
- Once you pick a WB for a series of photos in the same location and same lighting, just stay on the same kelvin. That way, even if it’s a few hundred kelvins off from what the neutral gray is, at least you only have to adjust one photo and you can sync the rest. I’ve found that even when I sync photos shot on auto white balance, I have to adjust so much more than when shooting on kelvin.
- Before starting your shoot, go to the menu that allows you to change the WB number and keep it there so that you don’t have to scroll to find it every time you go to change your kelvin. For Canon, I have to go into my menu and scroll through quite a few pages to get to the right place, so I always do this before my shoot.
- The lower the kelvin number, the cooler and more blue the image; the higher the kelvin, the warmer and more yellow the image. So in cooler, cloudy light, you will need a higher number. In warmer, sunny light, you will need a lower number.
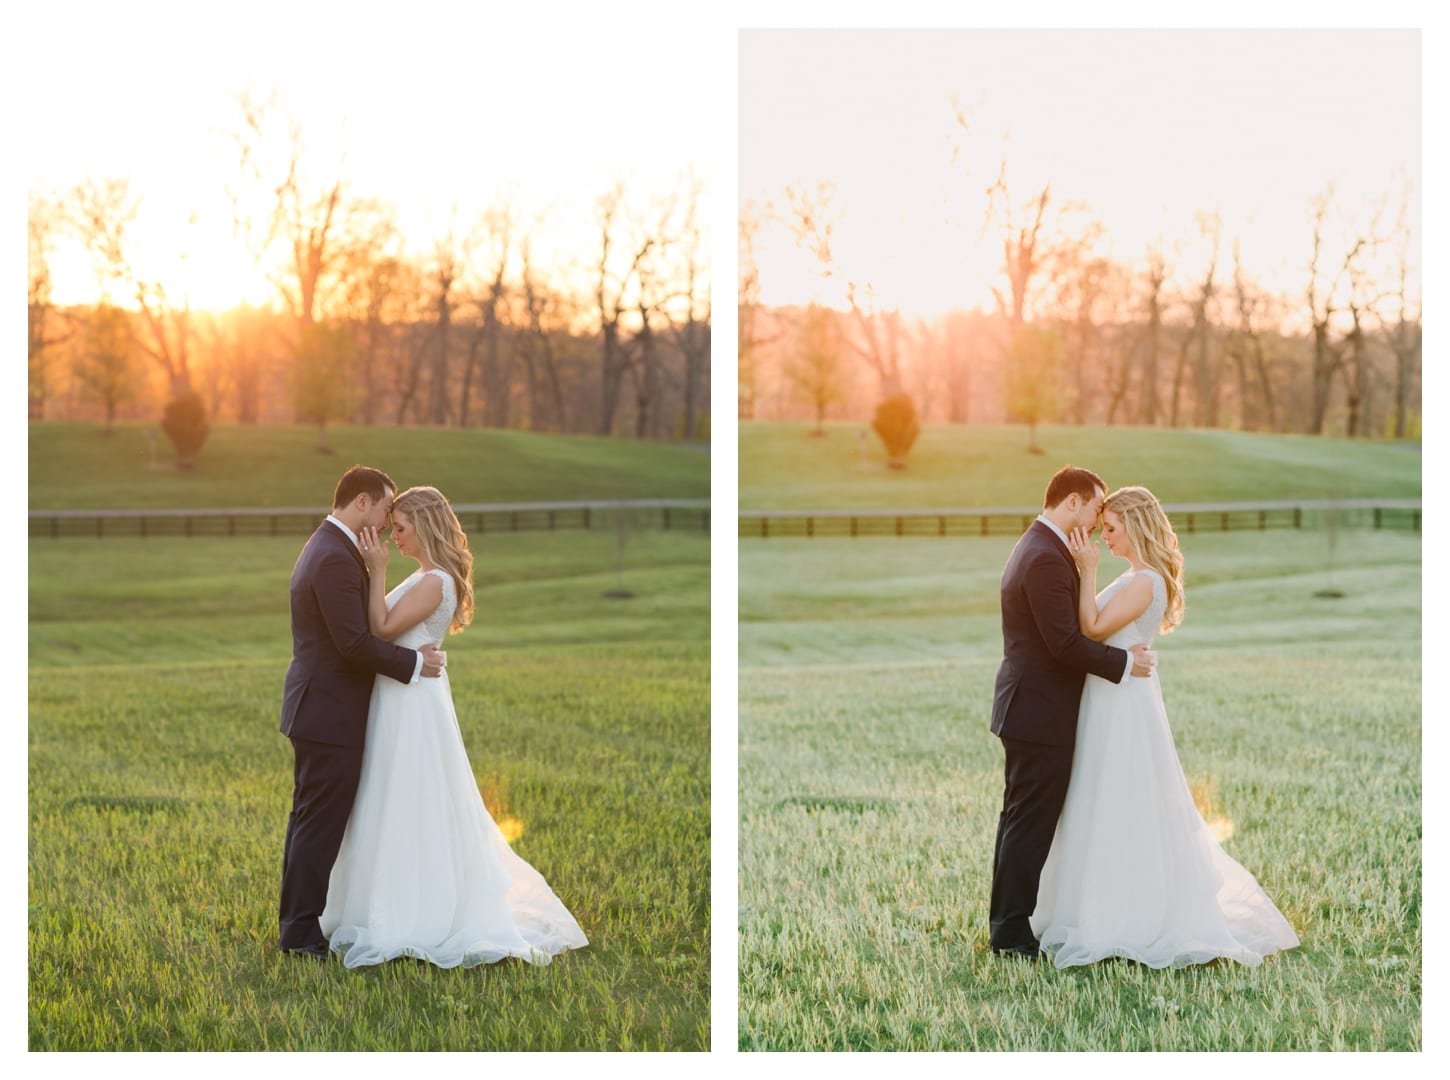
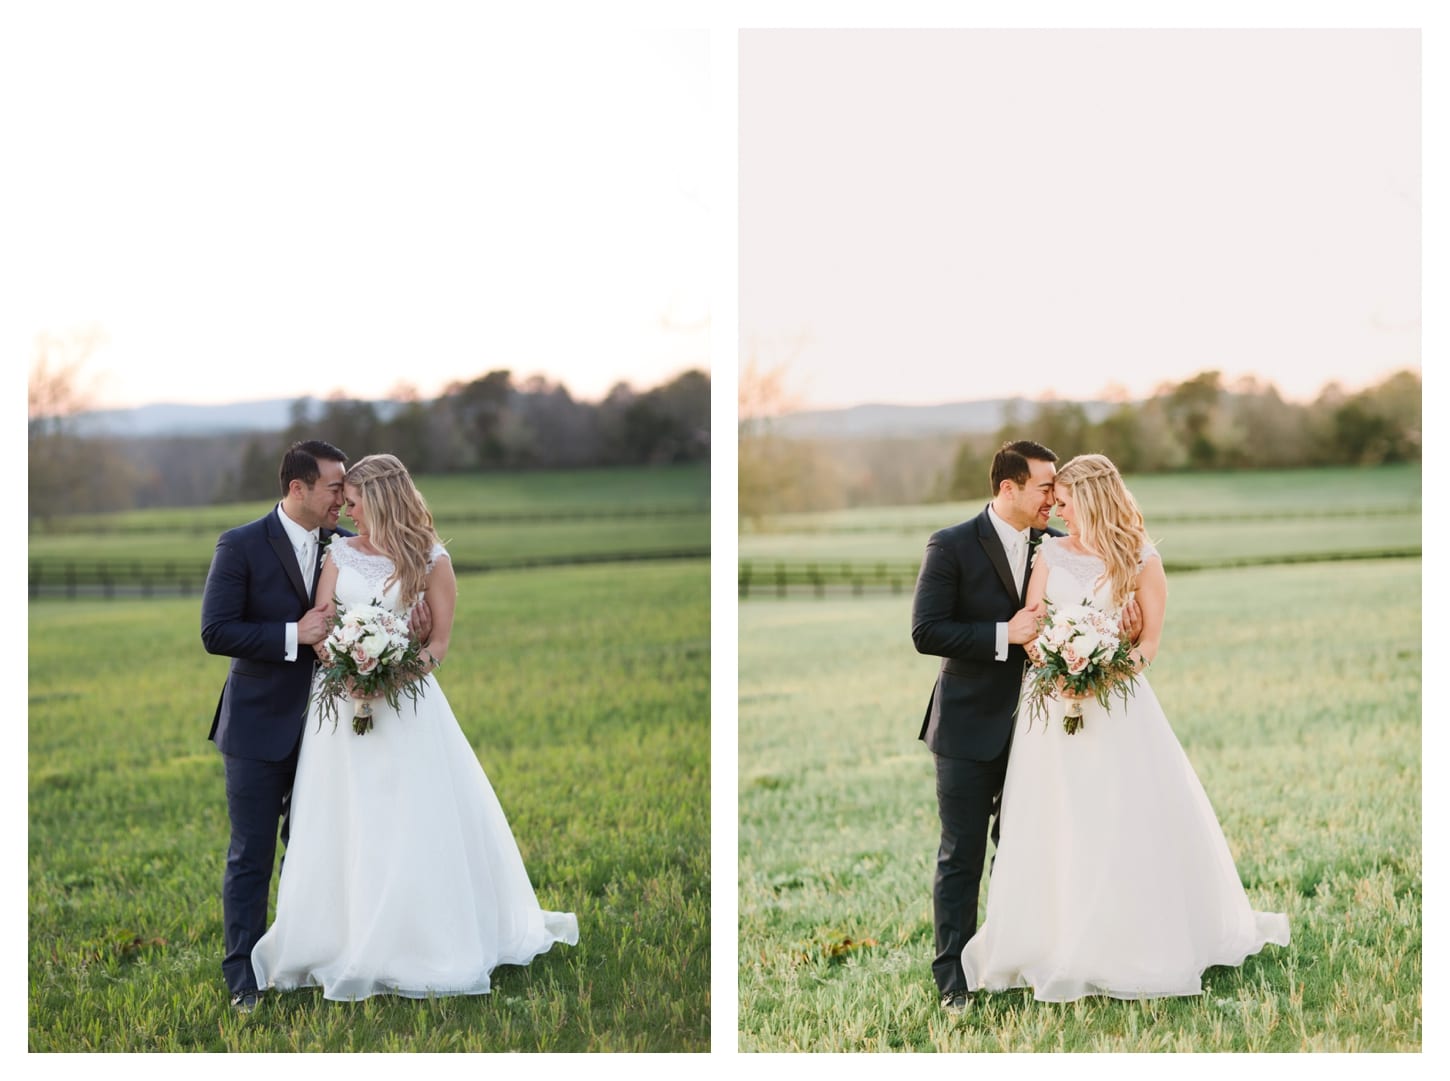
It might be a little hard to tell but here in the first before and after you can see the white balance was spot on so all I had to do was apply my standard edit but in the second before and after it had gotten a little darker and I didn’t quite nail the temperature so I had to do more adjusting later by warming the image. Hope this helps! Let me know if you have any questions!


POST CATEGORY:
Thank you for this article! I have been scared to make the switch too because I still feel I struggle with posing so the ideal of adding something else is so daunting. You made it sound pretty easy so I am going to try it.
Also, have you ever written a blog post on back-button focusing with a Canon? If so I would love to read it. I am currently trying to figure that out and I cannot get it yet.
hi, so beautiful! What kelvin number did you use in the images above?